
Upon the initial unveiling of Alhaitham’s gameplay, numerous individuals believed he bore a striking resemblance to Keqing, albeit with Dendro attributes. This initial comparison was hardly astonishing, given their apparent similarities at a cursory glance.
Nevertheless, following Alhaitham’s official release, it became apparent that he introduced a gameplay experience that was significantly distinct and more intricate than that of Keqing. Curious about his capabilities? Explore the comprehensive guide below to find out.
Build Alhaitham Genshin’s Impact

Alhaitham Gameplay Analysis
Alhaitham, armed with a sword, is a B5 Dendro character primarily utilized as a DPS, either as your primary damage dealer on the field or as a Quickswap character. As a Dendro character, he excels in triggering the Spread reaction. He proves valuable in initiating the Bloom reaction and its associated sub-reactions.
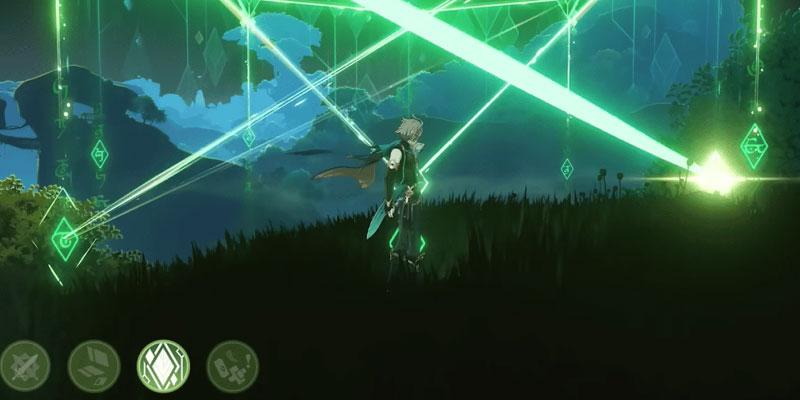
Regarding gameplay style and visuals, Alhaitham’s moveset bears similarities to Keqing. Both can fluidly reposition themselves by holding Elemental Skills and unleash rapid, continuous Elemental Burst attacks.
However, a crucial divergence in gameplay emerges when we delve into rotations. Keqing enjoys shorter cooldown periods, allowing for greater flexibility and ease of play. In contrast, Alhaitham introduces a unique mechanic, the Chisel-Light Mirror, significantly influencing his damage output.
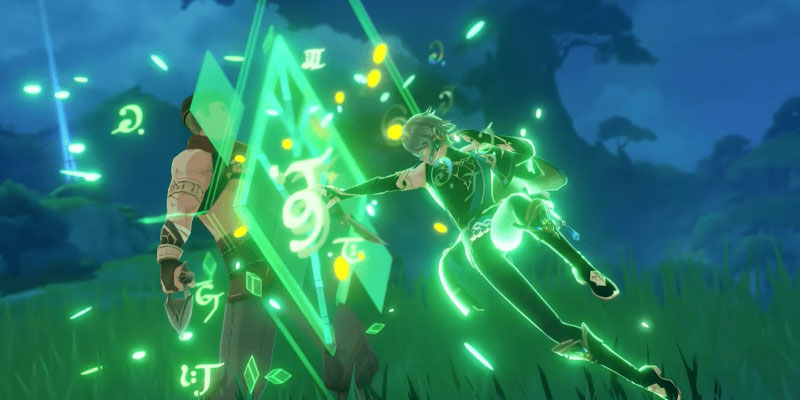
Each time Alhaitham performs a Normal Attack, an additional attack is executed based on the number of Mirrors he currently holds. These Mirrors fluctuate in various ways. Here’s a concise breakdown of Mirror dynamics:
- Activate an Elemental Skill with no Mirrors: +2 Mirrors.
- Hit an enemy with a Charged/Plunge Attack after activating Elemental Skill: +1 Mirror.
- Mirrors decrease by -1 every 4 seconds.
- Elemental Burst consumes all Mirrors.
- If Elemental Burst consumes 0 Mirrors, gain +3 Mirrors.
- The maximum number of Mirrors is limited to 3.
Combined with the extended cooldown of his Elemental Skill and Burst abilities and their high energy cost, playing Alhaitham demands more precision than Keqing and other characters. Any errors in rotation or skill usage can lead to suboptimal damage output.
There are two primary attack sequences that Alhaitham can execute, depending on your preferred playstyle and team composition. If you intend to use Alhaitham as your main DPS or as a support, it’s vital to maintain the maximum number of Mirrors at all times.
This approach involves frequent use of Normal Attacks and Elemental Skills, with the Elemental Burst reserved solely for generating 3 Mirrors at the start of the rotation.
Example attack sequence: Burst -> Normal Attack -> Elemental Skill -> Normal Attack.
Talent Priority: Normal Attack > Elemental Skill > Elemental Burst.
On the other hand, if you wish to use his Elemental Burst and switch to another character, activate the Elemental Skill, follow up with Charged or Plunge Attacks, and conclude with the Burst.
Example attack sequence: Elemental Skill -> Normal Attack -> Charged Attack -> Burst.
Talent Priority: Elemental Burst > Elemental Skill > Normal Attack.
Al Haitham Artifact Recommendations
To maximize Alhaitham’s damage output, prioritize increasing his Elemental Mastery. To achieve this, equip him with the 4-piece Gilded Dreams set, which substantially boosts Elemental Mastery. Activating this set’s effect is straightforward.
Alternatively, if no other characters in your team use it, you can opt for the 4-piece Deepwood Memories set. If you lack these specific sets with suitable substats, temporarily use a combination of 2-piece Gilded Dreams, Wanderer’s Troupe, Deepwood Memories, or Emblem of Severed Fate.
Energy Recharge (ER%) Recommendations:
- Solo Dendro: Aim for 170-180% ER.
- In a 2 Dendro character setup: Target 130-140% ER.
Key Main Stats to Pursue:
- Sands: Elemental Mastery.
- Goblet: Dendro DMG Bonus%.
- Circlet: Crit Rate/DMG%.
Sub-stat Priority: Prioritize Elemental Mastery, followed by Crit Rate/DMG%, Energy Recharge (ER%), ATK%, and Flat ATK.
Weapon
The weapon section can be categorized into two segments: the top-tier weapons and the best free-to-play (F2P) alternatives.
The Light of Foliar Incision stands at the pinnacle of Alhaitham’s weapon choices. This weapon boasts an exceptional Crit DMG substat, complemented by a passive effect that inflicts additional damage. Moreover, it significantly boosts the Crit Rate for the wielder.
Consider the Primordial Jade Cutter, Mistsplitter Reforged, Haran Geppaku Futsu, Black Sword, or Xiphos’ Moonlight for those seeking alternatives. These B5 weapon choices offer comparable performance, allowing adjustments based on your Artifact stats.
On the F2P side, the Harbinger of Dawn shines as Alhaitham’s best choice. This weapon elevates Crit Rate and Crit DMG substantially when the user’s HP remains above 90%. However, meeting these criteria in practice can prove challenging, especially without a robust shield.
For a more manageable F2P weapon, consider the Toukabou Shigure or Iron Sting, featuring EM substats that benefit Alhaitham. Additional viable options include Festering Desire, Favonius Sword, or Sapwood Blade.
Team Composition
To maximize Alhaitham’s personal damage output, the ideal team setup is a Spread team. This formation requires one other Dendro character, one Electro character, and one adaptable character as needed. Sample compositions include Alhaitham, Nahida/Dendro MC/Yaoyao, Fischl/Raiden Shogun, and Zhongli/Kazuha.
Alhaitham, an enabler/driver, also finds a place in the Bloom team, particularly when paired with Nilou. When creating this combination, integrate Dendro and Hydro characters as required. Example teams for this setup consist of Alhaitham, Nilou, Xingqiu, and Yaoyao.
For a high-damage output team that’s relatively straightforward to play, the Hyperbloom formation shines. Typically, this team utilizes Electro characters like Raiden Shogun and Kuki Shinobu, supplemented by robust Hydro characters such as Xingqiu and Yelan.
Burgeon’s team shares similarities with the Hyperbloom composition but swaps out its Electro character for a Pyro counterpart. Thoma is often the Pyro character of choice to trigger Burgeon’s effects.
Alhaitham Genshin Impact Tips
Here are some valuable tips to consider while crafting the optimal Alhaitham build:
Take advantage of the time delay between activating Alhaitham’s Elemental Burst and obtaining the three Mirrors. This allows you to switch to other characters like Fischl or Kuki Shinobu, use their skills, and then return to Alhaitham.
This strategy ensures Alhaitham starts the Normal Attack rotation with a full Mirror and benefits from additional attacks by other characters. However, be mindful of character-switching times; characters with longer setup times, like Yae Miko, may benefit less from this technique.
Alhaitham’s method of generating Dendro energy particles is unique. Unlike most characters who generate energy particles immediately upon using Elemental Skills, Alhaitham requires triggering a Mirror attack first to produce energy particles.
Fortunately, the energy particles generated remain constant, with Alhaitham having around five Dendro energy particles in a single rotation. While this is substantial for a DPS character, remember that Alhaitham cannot easily switch to other characters during combat.
Alhaitham’s gameplay draws inspiration from the mechanics of Keqing. This familiarity allows players well-acquainted with Keqing’s playstyle to adapt to Alhaitham’s unique Mirror mechanic without a steep learning curve.
These are some things about Alhaitam that you can find out more about. Hopefully this article can be a reference for you in playing Genshin Impact that you can get to know. You can also maximize your Genshin Impact game by Top up Genshin Impact on UniPin right now!